The store will not work correctly when cookies are disabled.
JavaScript seems to be disabled in your browser.
For the best experience on our site, be sure to turn on Javascript in your browser.
We use cookies to make your experience better.
To comply with the new e-Privacy directive, we need to ask for your consent to set the cookies.
Learn more.
Allow Cookies
Home
Blog
How To Setup Value Added Tax (VAT) in Magento 2
How To Setup Value Added Tax (VAT) in Magento 2
The Online Helper
To configure VAT in Magento 2 follow the following steps:
Setup of Value Added Tax (VAT)
Setup Customer Tax Classes
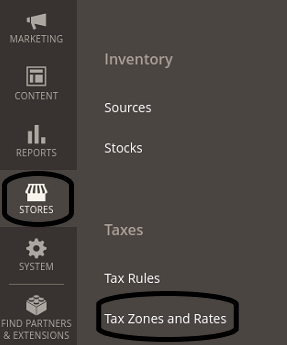
In the Admin panel, go to Stores > Taxes > Tax Rules.
Make sure that the VAT class is available such as Retail Customer. If there is no then create one by click on the Add New button.
Setup Product Tax class
In the Admin panel, go to Stores > Taxes > Tax Rules.
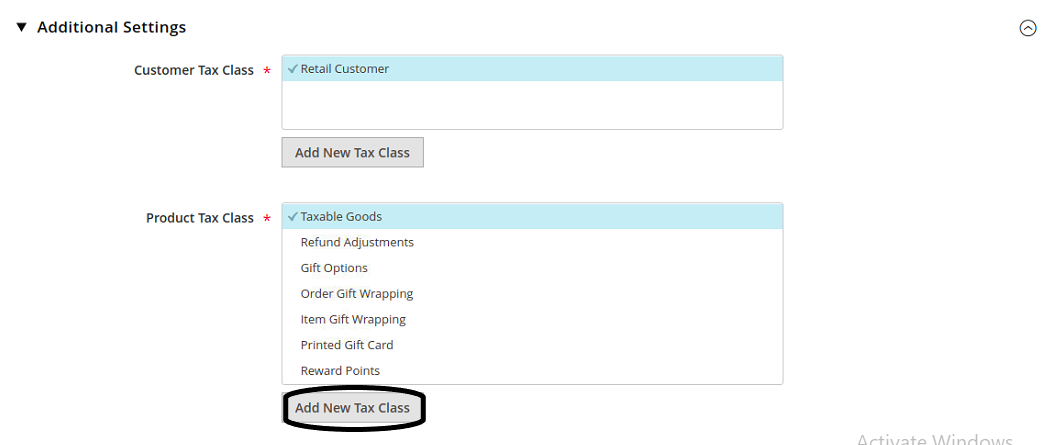
Click on the Additional Settings to expand. In the section of Product Tax Class , click on the Add New Tax Class to create three classes:
VAT Standard.
VAT Reduced.
VAT Zero.
Setup Tax Zones And Rates
In the Admin panel, go to STORES > Taxes > Tax Zones And Rates .
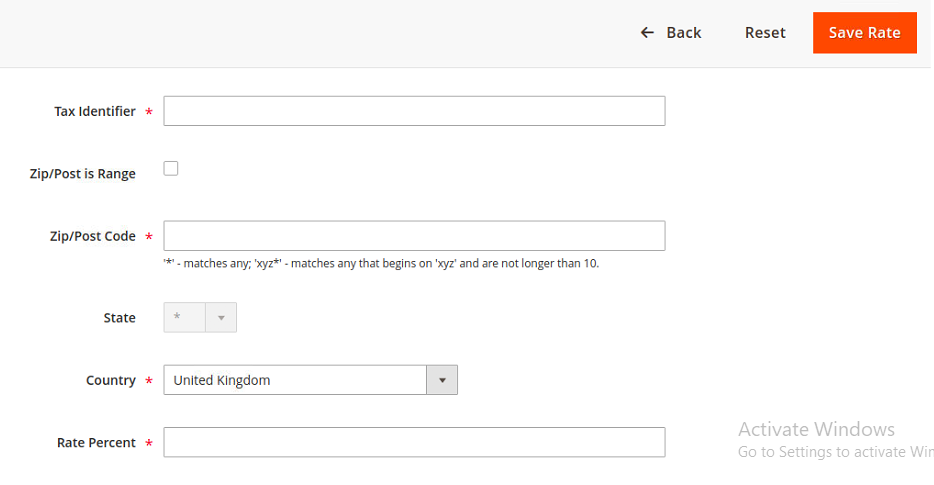
To add tax rate click on the Add New Tax Rate button and fill in the required fields.
To save changes click on the Save Rate button.
Setup Tax Rules
In the Admin panel, go to STORES > Taxes > Tax Rules .
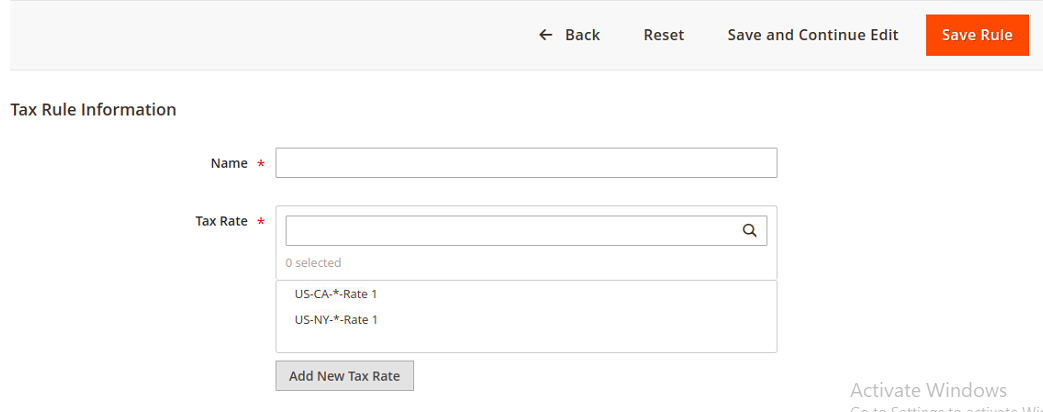
Click on the Add New Tax Rule button to add tax rule and fill in the required fields.
To save changes click on the Save Rule button.
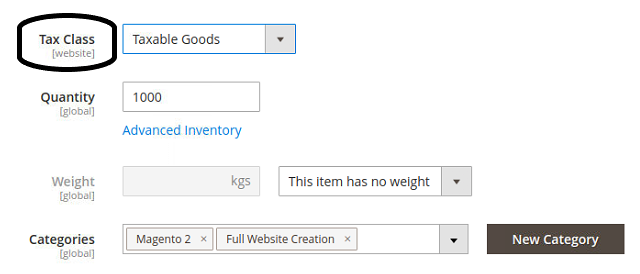
Add Tax Class To Product
In the Admin panel, go to CATALOG > Products .
Choose the product and open it in the edit interface.
In the field of Tax Class , choose the appropriate class from the dropdown.
To save changes click on the Save button.
If you need Magento Developer, visit Magento Web Agency .