The store will not work correctly when cookies are disabled.
JavaScript seems to be disabled in your browser.
For the best experience on our site, be sure to turn on Javascript in your browser.
We use cookies to make your experience better.
To comply with the new e-Privacy directive, we need to ask for your consent to set the cookies.
Learn more.
Allow Cookies
Home
Blog
How to Create and Assign Customer Group in Magento 2
How to Create and Assign Customer Group in Magento 2
The Online Helper
To create the customer group follow these steps:
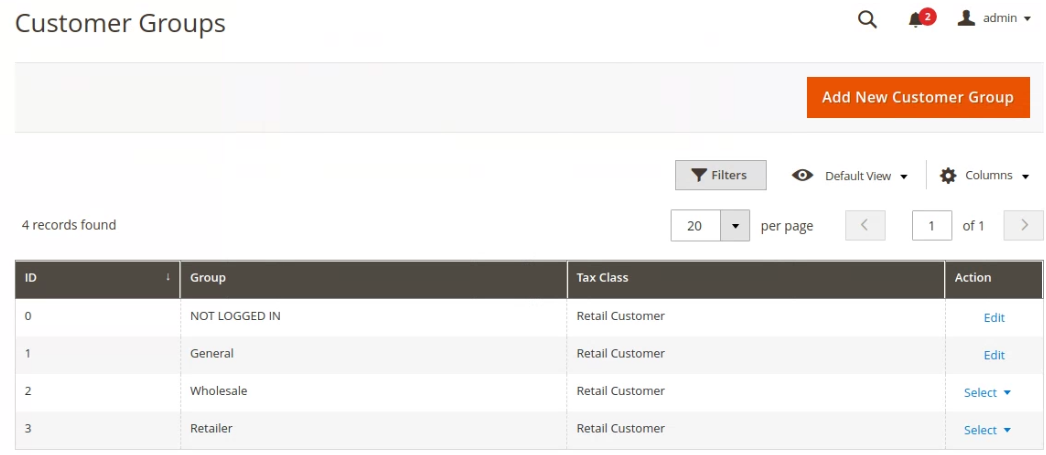
Go to Admin Panel, click on the CUSTOMERS > Customer groups.
Click on the Add New Customer Group button.
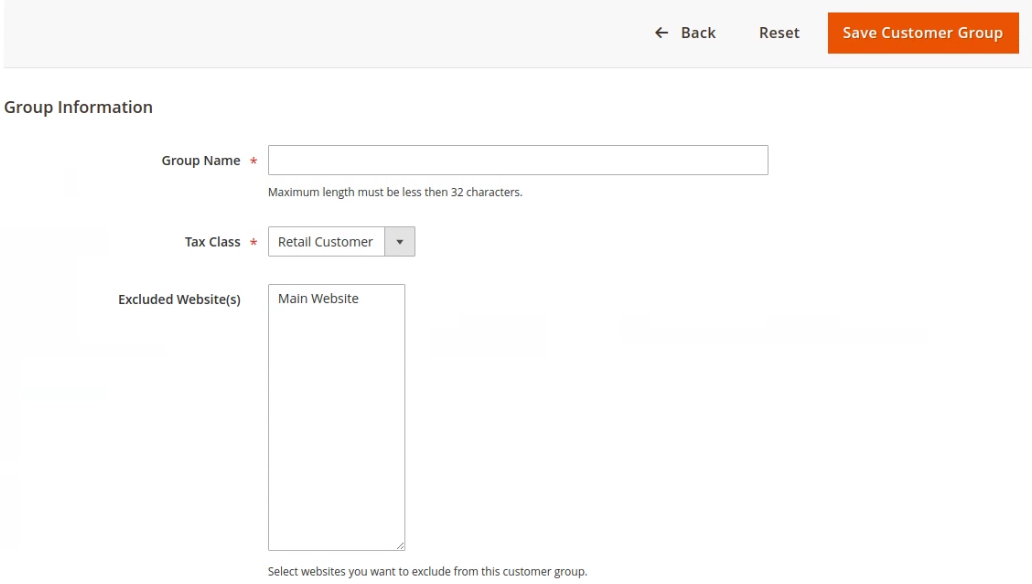
In the field of Group Name, set the group name.
Select the Tax Class.
In the field of Excluded Website, Select websites you want to exclude from this customer group.
Click on the Save Customer Group button.
Assign Customer to Customer Group In Magento 2, you can assign customers to customer groups from grid and edit page.
Assign Customer from Grid
Go to Admin panel, click on the Customers > All Customers and select the customer from the grid.
Click on the Actions dropdown and select the Assign a Customer Group option and select the customer group.
Assign Customer from Customer Edit Page
Go to Admin panel, click on the Customers > All Customers.
Click on the Edit button for a customer you'd like to assign to the customer group.
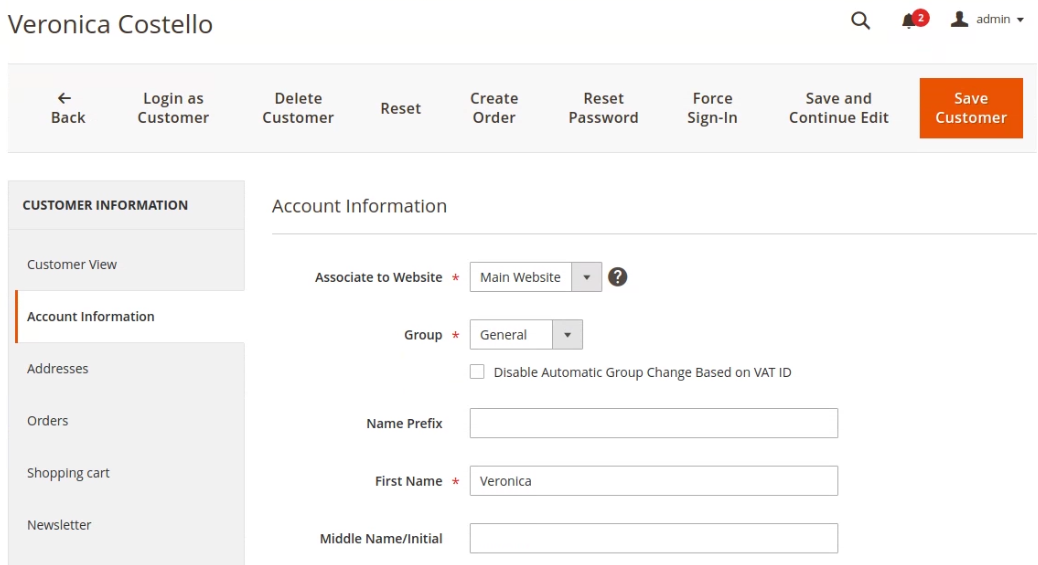
On the customer detail page click on the Account Information section.
Select the customer group from the Group dropdown.
Click on the Save Customer.